19-Inch Rack Mounting
The device is designed to be mounted in a standard 19-inch rack. Mounting is done by placing it on a pre-installed shelf (not supplied), and then securing it to the rack using front-mounting brackets (supplied).
At least two people are required to mount the device in the 19-inch rack.
Avertissements: Au moins deux personnes sont nécessaires pour monter l’appareil dans le bâti 19 pouces.
A fully-populated chassis weighs up to 21 kg (46.3 lbs.). The 19-inch rack cabinet must be able to withstand this weight.
In addition to the front-mounting brackets (supplied), the chassis must be mounted in the rack using a rack shelf (not supplied).
Rack Mount Safety Instructions: When installing the chassis in a rack, adhere the following safety instructions:
| ● | Elevated Operating Temperature: If installed in a closed or multi-unit rack assembly, the operating ambient temperature of the rack environment may be greater than room ambient temperature. Therefore, consideration should be given to installing the equipment in an environment compatible with the maximum ambient temperature (Ta) of 40°C (104°F). |
| ● | Reduced Air Flow: Installation of the equipment in a rack should be such that the amount of air flow required for safe operation on the equipment is not compromised. |
| ● | Mechanical Loading: Mounting of the equipment in the rack should be such that a hazardous condition is not achieved due to uneven mechanical loading. |
| ● | Circuit Overloading: Consideration should be given to the connection of the equipment to the supply circuit and the effect that overloading of the circuits might have on over-current protection and supply wiring. Appropriate consideration of equipment nameplate ratings should be used when addressing this concern. |
| ● | Reliable Earthing: Reliable earthing of rack-mounted equipment should be maintained. Particular attention should be given to supply connections other than direct connections to the branch circuit (e.g., use of power strips.) |
| ➢ | To mount the device in a 19-inch rack: |
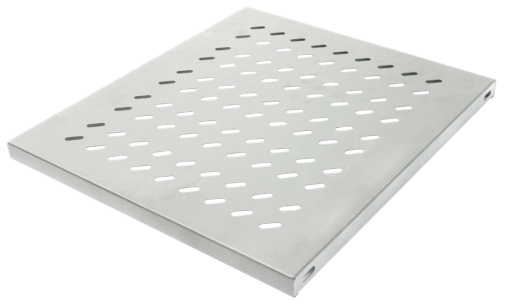
| 1. | Install a 19-inch fixed shelf (not supplied) in the rack at the desired position in the rack. Make sure that it's secured to the rack's posts and horizontally level with the rack. The following figure shows an example of a fixed shelf: |
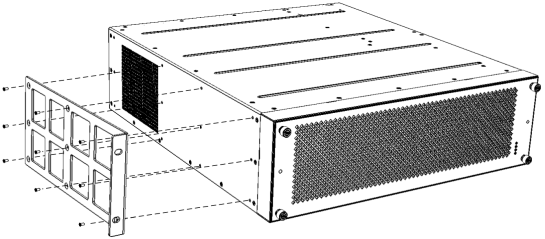
| 2. | Attach the two front-mounting brackets (supplied) to both sides of the chassis, as shown in the following figure. Each bracket is secured to the chassis using 9 screws (supplied). |
Attaching Mounting Brackets to Chassis
| 3. | Lift the chassis with at least another person, and then from the front of the rack, place it gently on the shelf. |
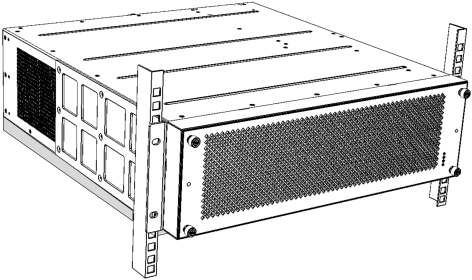
| 4. | Gently push the chassis on to the shelf until the front-mounting brackets become flush against the front-rack posts and the brackets' holes (2 on each side) align with the holes of the rack posts, as shown in the following figure: |
Front-Mounting Brackets Flush and Aligned with Front Rack Posts
| 5. | Secure the two front-mounting brackets to the rack posts, using 19-inch rack bolts (not supplied). Each mounting bracket is secured to the rack by two bolts. |
Make sure that the left and right front-mounting brackets are attached to the rack posts at the same level so that the chassis is in a horizontal position.